
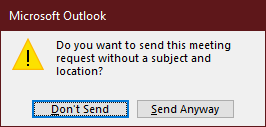
Most of the time when adding an appointment to your calendar, the location is generally known or implied (for me anyhow). So when saving a new appointment or sending meeting invites, even though it only takes one click to ignore, the “missing” warning is annoying.
Don’t wanna read? Scroll down for the visual walkthrough 😉
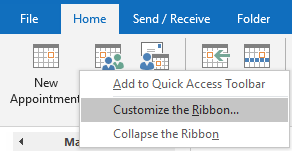
- Right-click any tab or ribbon and select “Customize the Ribbon…”
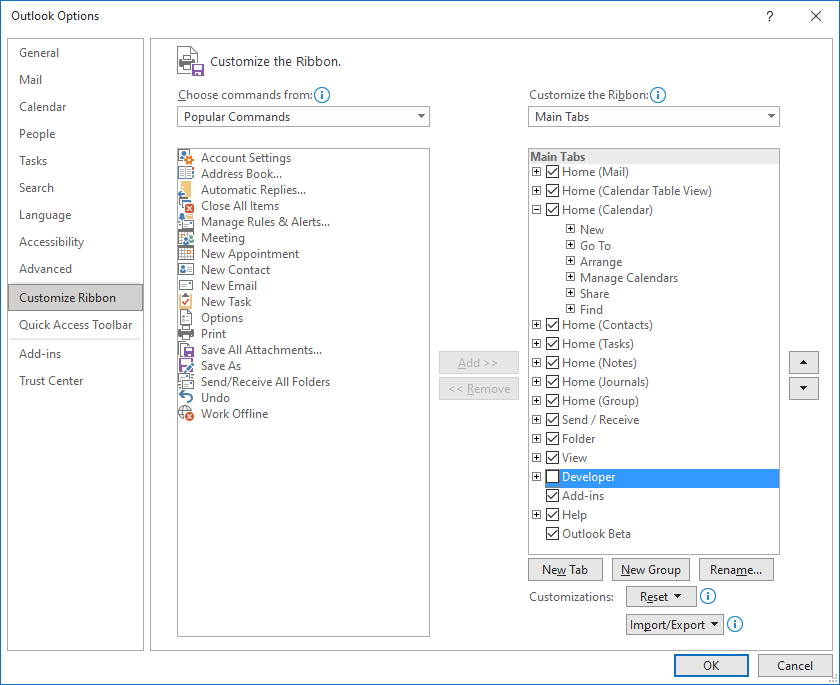
- Or navigate to File > Options > Customize Ribbon
- Check the “Developer” box in your “Main Tabs” list
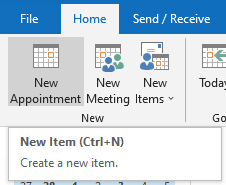
- Now open your calendar and click “New Appointment”
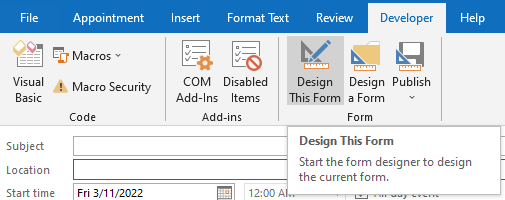
- Under the “Developer” tab, choose “Design This Form”
- Enter anything in “Subject” and/or “Location” as a default value
- My preferred “Location” is set as “(none)” with nothing in “Subject” so it still raise the warning for that field.
- You can also enter a single space character in either field, which disables the warning(s), while appearing to be empty.
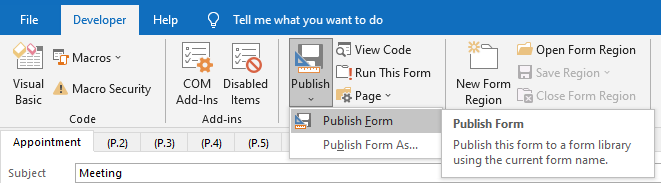
- Under the “Developer” tab, click “Publish” then choose “Publish Form”
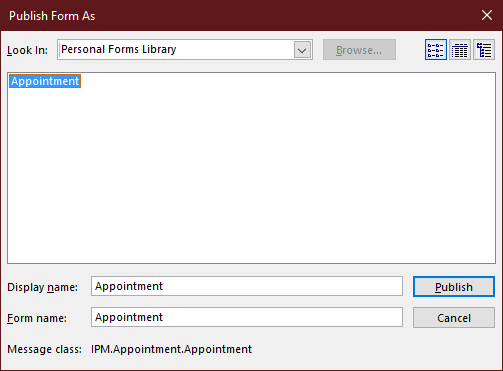
- Choose “Personal Forms Library” from the “Look In” dropdown
- Enter a display name such as “Appointment” and click “Publish”
- Close the “New Appointment” window without saving changes
- In the left pane, right-click “Calendar” and choose “Properties…”
- Open “When posting to this folder, use:” and select “Forms…”
- Choose “Personal Forms Library” from the “Look In” dropdown
- Select “Appointment” click “Open” then “OK”
Now whenever you add a “New Appointment” or “New Meeting” it will use the customized form that contains your default values for Subject and Location 😎
Visual Walkthrough 🐟


Note: Walkthrough based on Microsoft Outlook 2016. Prior versions of Outlook can also be customized by following similar steps; though some menus, lists and buttons may be labeled differently.
Unfortunately, this does not change the default for me. It automatically goes back to the IPM.Appointment
🤔 Some (or many) things may have changed since this walkthrough was written.
I have since switched to Thunderbird/LibreOffice instead of Microsoft Office, so revisiting this for an updated walkthrough is unlikely.
Maybe someone else who still uses Outlook day-to-day will comment with a workaround? 🤷♂️